A bow can turn a plain dress into something special. However, as fashion authority The Style Tribune cautions, poorly tied accents often undermine an entire outfit, and many women struggle to tie one that looks neat and stays securely in place. I know the feeling well. At my cousin’s wedding, I added a satin ribbon to my navy dress at the last minute. My first attempt looked like a lopsided gift from a rushed shopper. Therefore, I practiced for an hour that night. The next day, my bow got more compliments than the dress itself.
In this guide, you will learn how to tie the perfect bow on a dress, step by step. Additionally, you will learn which ribbons work best, where to place them, and how to avoid common mistakes. Let’s get started.
Key Takeaways
- Technique: A perfect bow comes from even loops, balanced tails, and a snug center knot.
- Placement: The waist, back, and neckline are the most flattering spots.
- Materials: Satin and grosgrain ribbons hold their shape best on dresses.
- Practice: Tying in front of a mirror builds speed and confidence.
- Impact: As a result, one simple bow can refresh a dress you already own.
Why the Perfect Bow Matters
Bows are having a real fashion moment. Pinterest named bow details a key trend in its annual trend forecast, and searches for bow outfits have climbed sharply. Additionally, Lyst’s Year in Fashion report noted a clear rise in searches for bow details after major runway shows. Clearly, this small detail carries big style power.
However, a sloppy bow can ruin an elegant dress. A crooked, flat, or floppy knot draws the eye for the wrong reason. On the other hand, a full, even bow looks polished and intentional. It frames your waist, adds charm, and shows care in your styling.
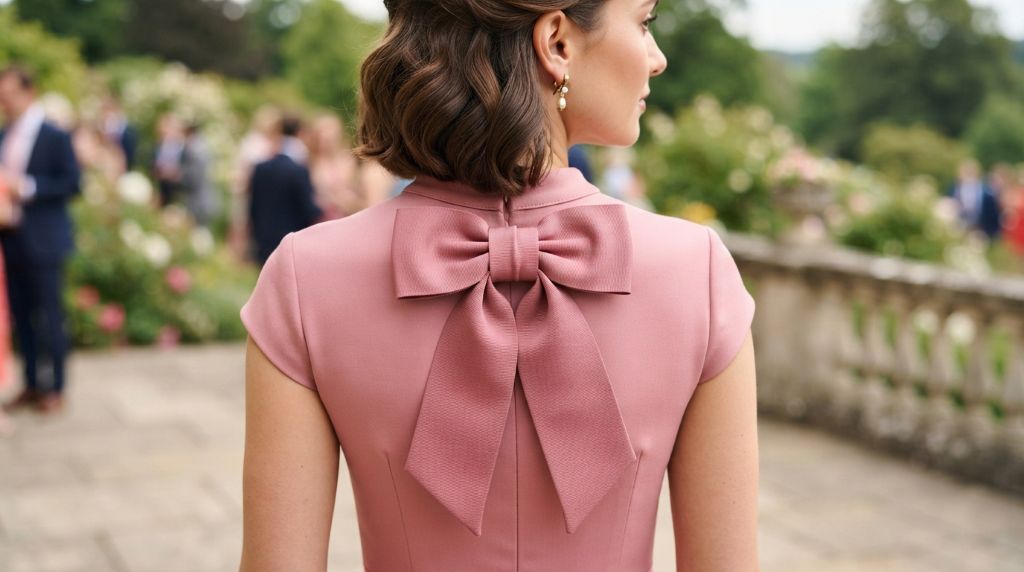
A bow also adds function. Tied at the waist, it defines your shape. Placed at the back, it covers a zipper and creates a pretty focal point. Therefore, learning this one skill pays off across many outfits in your closet.
Choosing the Right Ribbon and Placement
Before you tie anything, choose your ribbon carefully. The material affects both the look and the hold. Here are the best options:
- Satin ribbon: Smooth, shiny, and classic for dressy looks.
- Grosgrain ribbon: Textured, strong, and holds a tight knot.
- Velvet ribbon: Soft and rich, perfect for fall and winter.
- Organza ribbon: Sheer and light, ideal for a delicate touch.
Width matters too. A ribbon between 1 and 2 inches wide creates a balanced bow for most women. Narrow ribbons suit small neckline bows. Wider ribbons make a bold statement at the waist. Additionally, cut your ribbon long enough, because short tails look awkward. For a waist bow, start with at least 40 inches.
Now think about placement. The natural waist is the safest, most flattering spot. However, a bow under the bust works well for empire-waist dresses. A back bow looks lovely over a zipper. Therefore, hold the ribbon at different spots and check the mirror before you commit.
Step-by-Step: How to Tie the Perfect Bow
Here is the exact method I use after years of practice. Follow these steps in order, and your bow will look sharp every time.
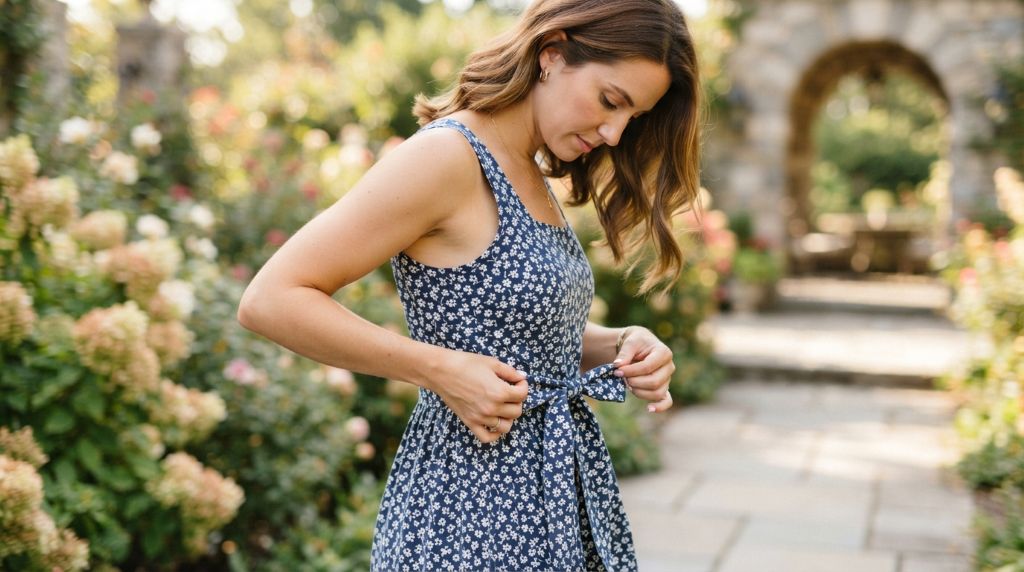
- Center the ribbon. Wrap it around your waist or the dress and hold equal lengths on each side.
- Cross the ends. Place the left side over the right, then pull it through, just like the first step of tying a shoe.
- Tighten the base knot. Pull it snug against the dress so it will not slide.
- Make a loop. Fold one side of the ribbon into a loop and pinch it at the base.
- Wrap the other side. Bring the loose end around the loop from behind.
- Push it through. Tuck the end through the small gap to form the second loop.
- Tighten slowly. Pull both loops outward while holding the center knot.
- Adjust and fluff. Even out the loops, then trim the tails at a slight angle.
Practice this in front of a mirror a few times. As a result, your hands will learn the motion, and it will soon take under a minute.
Common Mistakes and How to Fix Them
Even a simple knot can go wrong. Over the years, I have made every mistake on this list. Therefore, learn from my trial and error instead.
- Uneven loops: Measure both loops against each other before tightening.
- Loose center knot: Tug the knot sideways as well as outward for a firm hold.
- Short tails: Cut the ribbon longer at the start, because you cannot add length back.
- Wrinkled ribbon: Press it with a low-heat iron before you tie it.
- Slipping fabric: Add a tiny dot of clear fabric glue under the knot if satin slides.
Additionally, bows on the back of a dress cause special trouble. You cannot see what you are doing. Here is my favorite trick: hold your phone up behind your shoulder and use the front camera as a mirror. This simple habit saved me before a job interview last year. My back bow sat perfectly straight, and I walked in feeling confident.
Finally, resist the urge to overtighten. A bow should look soft and full, not crushed. Therefore, adjust gently and step back often.
Styling Your Bow for Different Occasions
Once you master the knot, you can place bows almost anywhere. Each spot creates a different mood.
A waist bow is the most classic choice. It defines your middle and pairs well with a solid-color dress. For example, I added a black grosgrain bow to a plain white midi dress last summer. Suddenly, it looked like a designer piece.
A back bow adds romance for weddings and parties. It also hides a zipper beautifully. Meanwhile, a small bow at the neckline feels sweet and retro. This works well with collared shirt dresses and office wear.
You can also match your bow to the season. In winter, try velvet in deep green or burgundy. In spring, choose pastel satin or sheer organza. Therefore, one dress can serve many events with a simple ribbon swap.
Keep the rest of the outfit simple when the bow is large. Small earrings and a plain clutch let the bow shine. However, a small bow can handle bolder jewelry. Balance is always the goal.
Final Thoughts
Tying the perfect bow on a dress is a small skill with a big payoff. It costs almost nothing, takes only minutes, and instantly lifts your look. Remember the core steps: even loops, a snug knot, and gentle fluffing. Then, experiment with ribbon widths, textures, and placements. For more inspiration on creating polished seasonal looks, explore these trendy summer outfits and stylish bows for additional ideas.
Start with one dress in your closet today. Tie a bow, check the mirror, and adjust until you smile. I promise the compliments will follow.
Now I would love to hear from you. Do you have a favorite spot for a bow, or a trick of your own? Share it in the comments below. Additionally, if this guide helped you, please share it with a friend who loves dresses.
Frequently Asked Questions
How do I tie a bow on the back of a dress by myself?
Use your phone camera as a mirror behind your shoulder. Tie slowly, then check the image and adjust until it is even.
What type of ribbon works best for dress bows?
Satin and grosgrain ribbons work best. They hold their shape, tie tightly, and come in many colors and widths.
How do I keep a bow from coming undone?
Tighten the center knot firmly, and pull the knot sideways as well as outward. A tiny dot of fabric glue adds extra security.
Can I add a bow to any dress?
Almost any dress works. Solid colors show bows off best, and busy prints can hide the detail.
How big should a bow on a dress be?
Aim for a bow about 4 to 6 inches wide. Larger bows suit parties, while smaller ones fit office and daily wear.
About Author