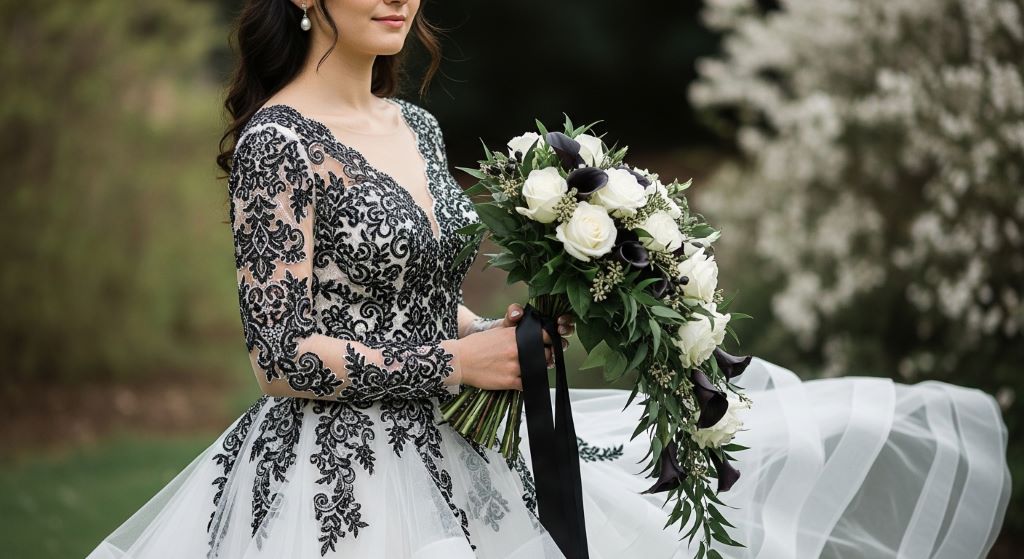
Your wedding day is one of the most cherished days of your life. Whether you’re a minimalist or love a full-glam look, the right bridal makeup can make you feel confident, beautiful, and radiant. Getting it just right requires a thoughtful step-by-step approach, especially if you’re doing it yourself or working with a makeup artist. This comprehensive bridal makeup tutorial will walk you through every essential step, from skincare prep to the final setting spray.
If you’re looking for more bridal inspiration and styling guides, Wedding Hair Style is an excellent resource for up-to-date trends, looks, and wedding day beauty tips.
Let’s dive into the ultimate full bridal makeup tutorial to ensure you look flawless from the ceremony to the final dance.
Step 1: Prepping the Skin
Great makeup starts with great skincare. Your bridal makeup will last longer and look smoother if your skin is well-hydrated and primed.
- Cleanse: Use a gentle cleanser to remove any dirt or oil.
- Exfoliate: Light exfoliation will help remove dead skin and create a smooth base.
- Tone: Balance the skin’s pH with a gentle toner.
- Moisturize: Hydrate with a long-lasting moisturizer suitable for your skin type.
- Prime: Apply a quality primer that suits your skin (mattifying for oily skin, hydrating for dry skin).
Additionally, prep your lips with a hydrating balm and exfoliator to ensure your lipstick applies evenly and lasts all day.
Step 2: Foundation and Concealing
Choosing the right foundation is key to a perfect bridal look.
- Color Match: Always match your foundation to your neck and chest area.
- Application: Use a damp beauty sponge or a brush for an airbrushed finish.
- Concealer: Apply a full-coverage concealer under the eyes, around the nose, and on any blemishes.
- Blend: Make sure everything is well-blended with no harsh lines.
Pro Tip: Use a color-corrector under your concealer if you have dark circles or redness.
Step 3: Setting the Base
Once your foundation and concealer are in place, setting your base helps keep everything intact.
- Translucent Powder: Lightly dust your T-zone to prevent shine.
- Setting Powder: Use a compact setting powder for more coverage.
- Baking (Optional): For an ultra-matte look, consider baking under the eyes and jawline.
Some brides wonder, how early is too early for makeup on the big day. The answer depends on the length of your ceremony and how long you need your look to last, but starting 3-4 hours before your event is a safe bet.
Step 4: Contouring and Highlighting
Contouring and highlighting help define your face and bring light to your features, which is especially important in photos.
- Contour: Use a matte bronzer or contour stick to define your cheekbones, jawline, and nose.
- Highlight: Apply highlighter to the tops of your cheeks, brow bones, nose bridge, and Cupid’s bow.
- Blush: Add a natural-looking blush to the apples of your cheeks for a youthful glow.
Choose shades that complement your skin tone and blend thoroughly to avoid any harsh edges.
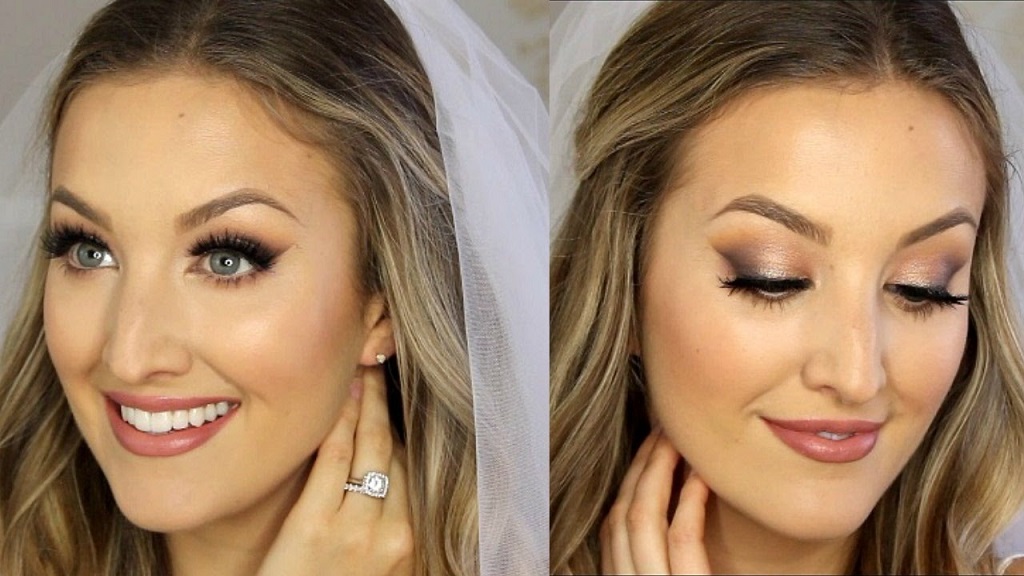
Step 5: Eyeshadow
Your eyes will be a focal point, so give them extra attention.
- Primer: Apply an eyeshadow primer to prevent creasing and enhance color payoff.
- Transition Shade: Use a neutral tone in your crease to build depth.
- Lid Color: Apply a shimmer or matte shade depending on your desired look.
- Outer V: Use a darker shade to add dimension to the outer corners of your eyes.
- Brow Bone and Inner Corner Highlight: Use a light shimmer to brighten these areas.
For brides, rose gold, champagne, and neutral browns are timeless shades that suit most wedding themes and complexions.
Step 6: Eyeliner and Lashes
- Eyeliner: Tightline your upper lash line for definition. You can go for a subtle wing or a bolder cat-eye depending on your style.
- Lashes: Apply individual lashes for a natural look or a full strip for more drama.
- Mascara: Blend your natural lashes with the falsies using a high-quality waterproof mascara.
Waterproof formulas are a must to withstand happy tears throughout the day.
Step 7: Brows
Well-defined brows frame your face and complete your eye look.
- Brush: Comb your brows upward and outward.
- Fill In: Use a brow pencil or powder to fill in sparse areas.
- Set: Use a brow gel to keep hairs in place all day.
Brows should look natural yet defined, especially under flash photography.
Step 8: Lips
Your lip color should complement your overall makeup and be long-lasting.
- Lip Liner: Outline and slightly overdraw (if desired) for fuller-looking lips.
- Lipstick: Apply a creamy matte or satin lipstick in a flattering shade.
- Gloss (Optional): Add a gloss for shine, but keep in mind it may transfer more easily.
Neutral pinks, mauves, and soft reds are all great bridal choices. Always carry a touch-up kit with your lipstick for reapplication.
Step 9: Final Touches
To complete your bridal look:
- Setting Spray: Lock everything in with a long-lasting, dewy or matte setting spray.
- Blotting Papers: Have some on hand during the day for oil control.
- Mini Touch-Up Kit: Include essentials like lipstick, concealer, and blotting powder.
With these final touches, your makeup will stay fresh from the first look to the last dance.
Read More Also: What is bronzer and how to use it in the makeup routine?
5 Popular FAQs About Bridal Makeup
How early should I start my bridal makeup on the wedding day?
It’s best to start your makeup 3–4 hours before your ceremony, especially if you’re also doing hair and photos before the event. You don’t want to rush through this process.
What’s the best foundation for a bridal look?
Opt for a long-wear, high-definition foundation that’s sweat-proof and doesn’t flashback in photos. Brands like Estée Lauder Double Wear or NARS Natural Radiant Longwear Foundation are great options.
Should I do a makeup trial before my wedding?
Absolutely. A trial helps ensure you and your artist are on the same page. It gives you time to test how products wear on your skin and tweak anything you don’t love.
Can I do my own bridal makeup?
Yes, if you’re confident in your skills and practice beforehand. Following a detailed tutorial like this one and watching expert videos can help you achieve a stunning DIY bridal look.
What skincare steps should I take leading up to the wedding?
Start a skincare routine at least 3 months prior. Regular facials, exfoliation, and hydration are key. Avoid trying new products a week before the wedding to prevent breakouts or reactions.
Read More Also: Would you wear shorts and tights noughties style?
Conclusion
Your wedding makeup is more than just a beauty ritual — it’s an essential part of how you’ll feel and look on one of the most memorable days of your life. With proper preparation, quality products, and a clear step-by-step plan, you can achieve a flawless bridal look that lasts all day and photographs beautifully.
Always remember to do a trial run and prepare for touch-ups.
Looking your best starts with feeling your best — and the right bridal makeup can make all the difference. Whether you’re going full glam or keeping it soft and romantic, this tutorial ensures you walk down the aisle glowing with confidence.